
A severe storm just moved through Nixa. Now what? This checklist walks you through the 8 zones to inspect, what to photograph, and how to document everything correctly before calling your insurance company. Doing this right in the first 24 to 48 hours protects your claim from the start.
TLDR: Check safety first: downed lines, gas smell, and structural damage. Then work through 8 zones: roof, gutters, siding, windows, AC condenser, soffit and fascia, deck, and interior ceilings and attic. Photograph everything before touching anything. Check the NWS Springfield storm report for hail size at your zip code. Do not call insurance until you have photos and a professional inspection report in hand.
You step outside after the storm and the yard is covered in branches and leaves. The car has dents. There are white marks on the siding and something looks off along the roofline. You are not sure what is minor surface stuff and what needs to go on an insurance claim. You do not know where to start, and the last thing you want is to miss something that shows up as a denied claim two months from now.
That is exactly the situation this checklist is built for. Storm damage inspections are not complicated, but they do follow a specific order. The right documentation in the right zones in the first 24 to 48 hours is what separates a strong claim from a disputed one.
This guide walks through every zone in the right order, tells you exactly what to look for in each one, and explains what to photograph and how. By the end, you will know what to handle yourself and when to call a professional.
Why the First 24 to 48 Hours Matter
According to NOAA, Missouri has experienced 120 billion-dollar weather and climate disasters between 1980 and 2024. Of those, 82 were severe storm events involving hail and high winds. Peak storm season in Southwest Missouri runs from late March through early June, and severe storm frequency in this region has tripled in recent years. This is not a once-a-decade problem for Nixa and Christian County homeowners. It is a recurring seasonal reality.
Insurance adjusters look for evidence of sudden storm damage rather than gradual wear and tear. Fresh damage documented immediately after the storm is far easier to prove than damage discovered weeks or months later, when the insurer can reasonably argue the timeline is unclear. Most carriers require reporting within 60 days of the damage event, but acting within the first day or two puts you in the strongest position the moment you open the claim.
Documentation done right in the first 48 hours also protects you if the claim gets disputed. An adjuster can argue about damage found weeks later. They cannot easily argue against timestamped photos taken the morning after the storm, alongside a NWS storm report showing what fell on your zip code the night before.
Pro tip: Before you go outside to inspect anything, open the NWS Springfield storm reports page and find the reported hail size and storm path for your zip code. Screenshot it and save it immediately. That document becomes a core piece of your claim evidence.
Safety First: Before Any Inspection
No inspection is worth an injury. Work through this list before stepping outside.
- Do not go outside until the storm has fully passed and the weather is clear. Severe weather cells can have multiple rounds.
- Look for downed power lines from inside before opening any door. Assume every downed line is live. Stay at least 30 feet away from any downed line.
- Smell for gas before going outside. If you detect a gas smell, leave the home immediately without using any switches or phones inside, and call your gas company from a safe distance outside.
- Look at the home’s structure before re-entering. Check for sagging rooflines, cracked foundations, and leaning walls from the exterior before walking back in.
- Wear thick-soled shoes before stepping outside. Post-storm ground is covered in shingle pieces, nails, broken glass, and sharp debris.
- Do not climb onto the roof under any circumstances. Hail-damaged shingles are unstable underfoot. Photograph from the ground and let a professional handle any roof-level inspection.
Pro tip: NWS safety data shows that 50% of post-tornado injuries happen during cleanup rather than during the storm itself. Slow down, look before every step, and do not climb anything until you are certain it is structurally stable.
Zone-by-Zone Inspection Checklist
Work through these 8 zones in order. Photograph each area before touching or moving anything.
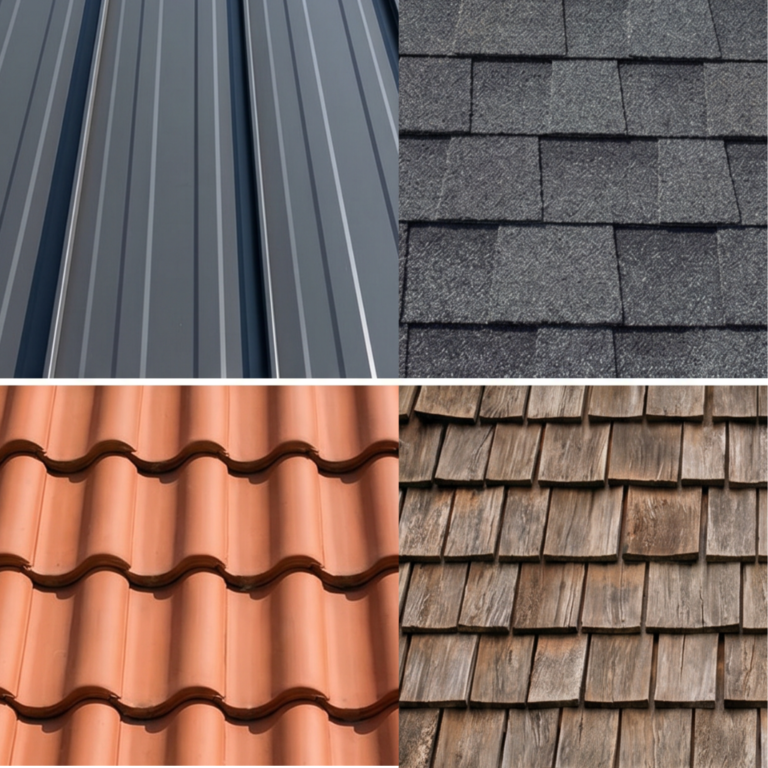
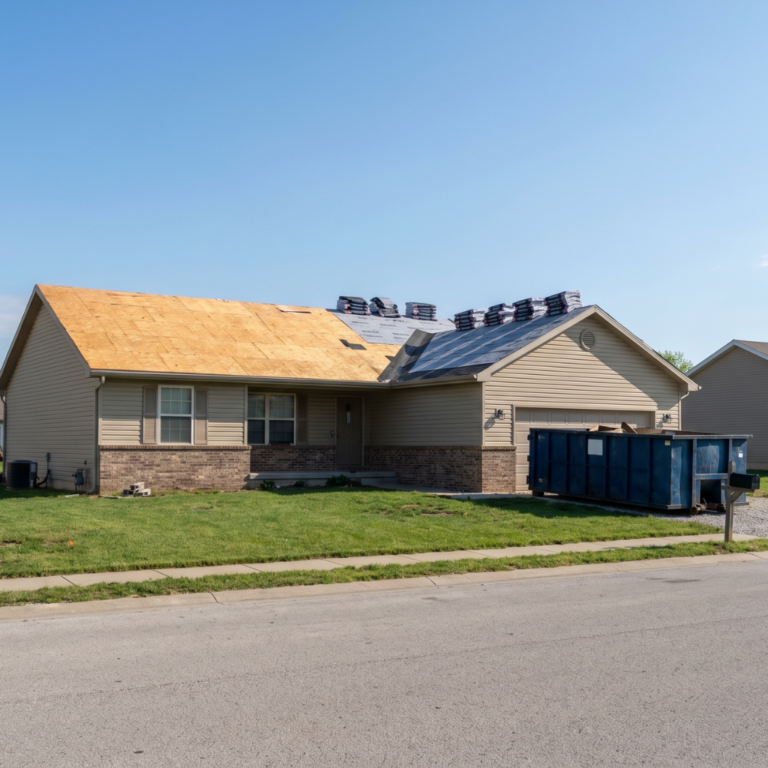
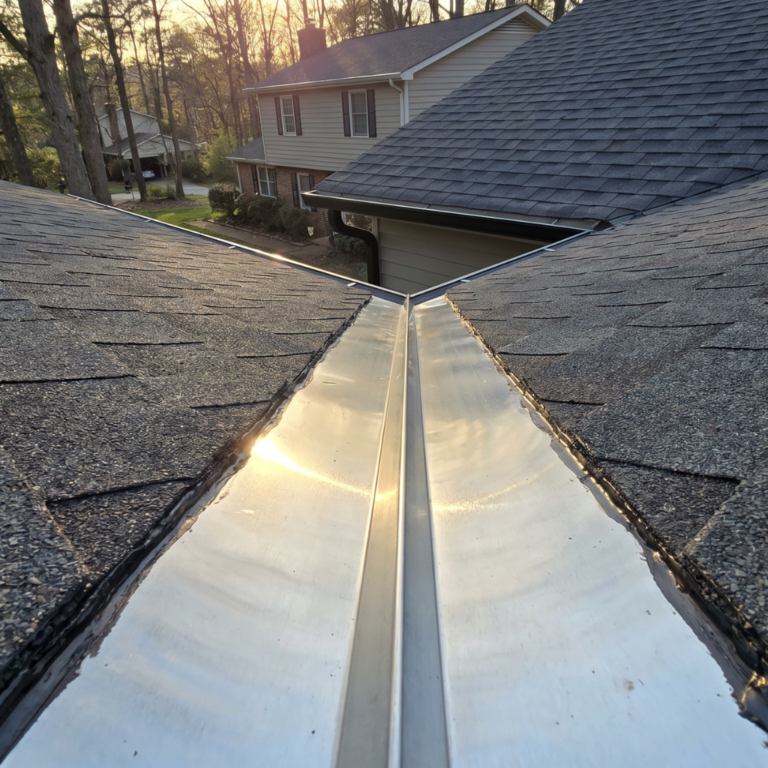
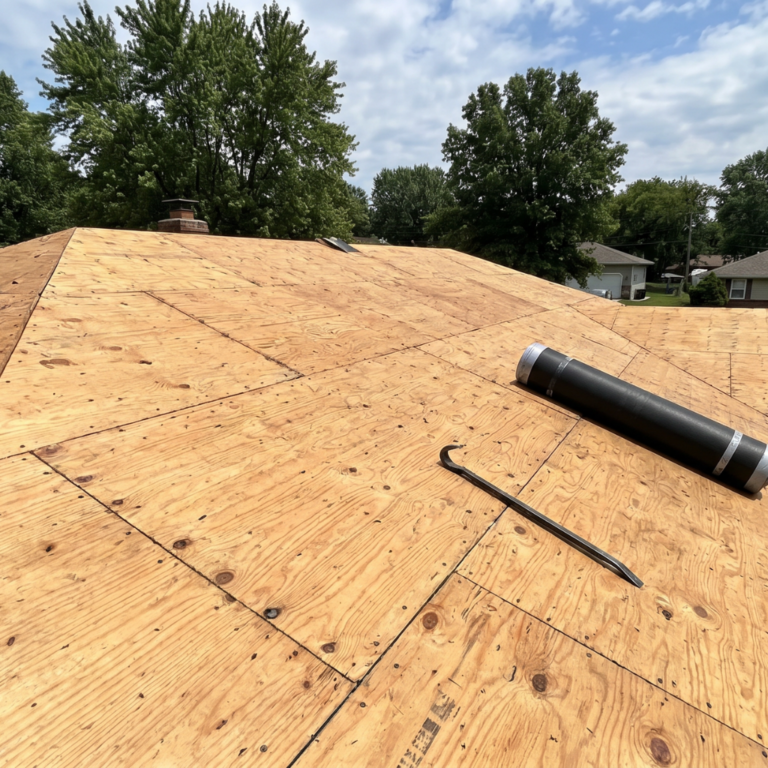
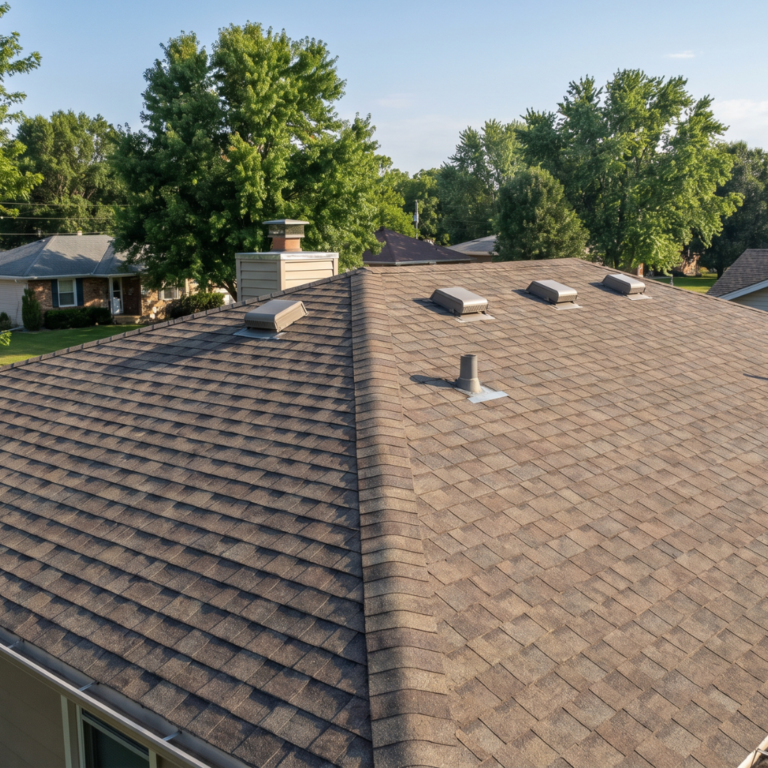
Zone 1: Roof (Ground Level Only)
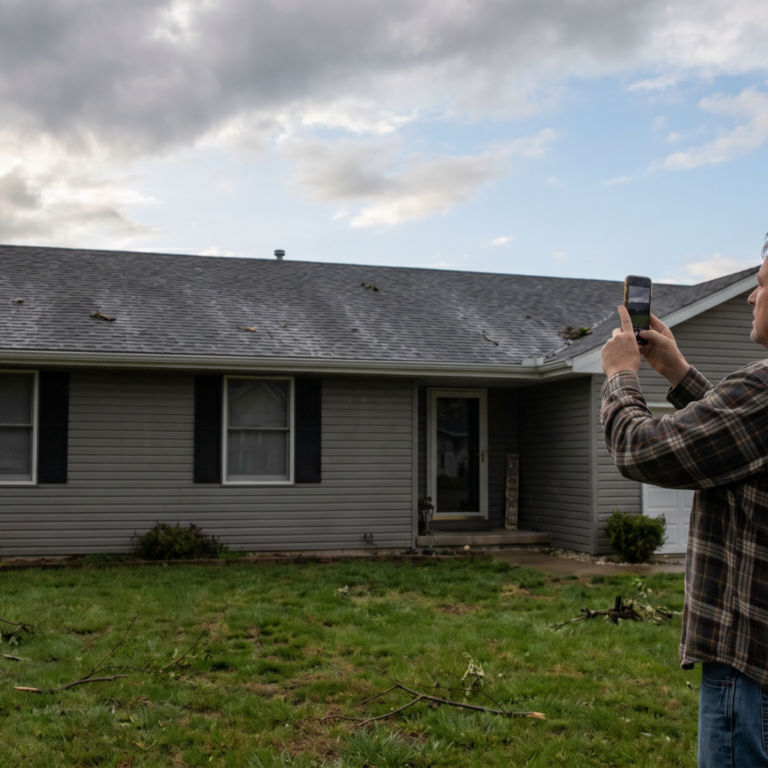
Walk the full perimeter of the home and look up at all four roof slopes from each corner. Use binoculars or your phone camera with zoom to get closer views without leaving the ground.
Look for: missing shingles, displaced or lifted shingles, white or dark circular impact marks on shingle surfaces, lifted ridge cap shingles, debris piles sitting in valleys, and any areas where decking appears exposed.
What to photograph: All four roof slopes from ground level at each corner, close-ups of any visible impact marks with a reference object for scale, the full ridge line, and any area where shingles look displaced or decking shows through.
Do not climb on the roof. Hail-fractured shingles are structurally unstable and can give way. Leave the close inspection to a professional. For questions about what a professional roof inspection covers, ProNail Exteriors documents every finding in writing.
Zone 2: Gutters and Downspouts
Walk the full gutter run on all sides of the home. Look at both the top lip and the face of each gutter section.
Look for: dents along the top lip and gutter face, granule buildup visible at the downspout cleanout at the bottom (it looks like coarse dark sand), sagging gutter sections, and any sections separating from the fascia board.
Granule buildup at the downspout cleanout is one of the clearest physical signs of shingle damage. Hail strips granules from the shingle surface and they wash directly into the gutters and out the downspout. If you see significant granule accumulation, photograph it before cleaning anything.
What to photograph: The full gutter run on each side, close-ups of any dents on the face or top lip, granule piles at every downspout cleanout, and any gutter sections pulling away from the fascia.
Zone 3: Siding
Walk the full perimeter and look at all siding surfaces. Hail damage on siding often shows at an angle in low or raking light rather than straight on. Walk the perimeter twice if needed: once in one direction, once in the other.
Look for: circular dents on vinyl siding, cracks or chips in fiber cement panels, paint chipping on wood siding, and a consistent directional pattern across multiple panels that indicates hail impact rather than random mechanical damage. Check corners, trim pieces, and window wrap trim specifically. These are the most vulnerable spots.
What to photograph: Full wall shots of each side, close-ups of individual dents or cracks with a scale reference, corner trim on every exterior corner, and all window trim cap pieces.
For context on siding damage and replacement options in Southwest Missouri, ProNail Exteriors handles steel, fiber cement, and LP SmartSide as part of full exterior projects.
Zone 4: Windows
Check every window on the exterior before going back inside.
Look for: cracked glass in any pane, fogging or cloudiness between double-pane glass (indicates a broken seal from pressure or impact), damaged or bent window frames, torn or displaced screens, and dents on aluminum window frame caps.
Aluminum window wrap trim is one of the softer metals on the home’s exterior and shows hail dents clearly and early. If you see dents on the wrap trim, photograph every window on the affected side.
What to photograph: Each damaged window as a full frame shot, close-ups of any cracks or frame dents, every torn screen, and all aluminum trim wrap showing impact marks.
Zone 5: AC Condenser Unit
This is the single most important inspection zone for insurance claim documentation.
Walk to the AC condenser unit and look carefully at the aluminum fins on all four sides. Hail dents the fins in a distinctive round pattern. The size of the dents corresponds roughly to the size of the hail that made them.
Dents on the AC condenser fins are physical proof that hail hit your specific property at a specific time. Insurance adjusters recognize this evidence. It is harder to dispute than shingle bruising alone, and it is often the piece of documentation that makes the difference in a disputed claim.
Do not run the AC unit if fins are severely bent or compressed on multiple sides. Restricted airflow can damage the compressor over time. Photograph the damage first and call an HVAC technician if the damage appears extensive.
What to photograph: All four sides of the condenser unit, close-up shots of individual fin dents with a coin or ruler in frame for scale, and the unit as a whole showing its location on the property.
Zone 6: Soffit and Fascia
Walk the roofline perimeter again and look specifically at the soffit and fascia while facing upward.
Look for: dents on aluminum fascia, missing or displaced soffit panels, cracked or buckled vinyl soffit, peeling or bubbling paint on wood fascia, and any open gaps along the roofline junction. An open gap in soffit means pests can enter the attic within days of the storm. It is worth addressing quickly.
What to photograph: Fascia runs on all four sides of the home, any dented or damaged sections, and every open gap or displaced panel you find along the soffit line.
Zone 7: Deck and Outbuildings
Walk the deck surface and inspect all horizontal and vertical surfaces at close range.
Look for: dents on metal railings, post caps, and hardware, cracks on composite deck boards, hail impact marks on aluminum post caps, and debris impact marks on any flat horizontal surface. Any flat surface on the deck, such as a tabletop or bench, that shows circular dent patterns confirms hail impact at that location.
Check any outbuildings such as sheds or detached garages for the same damage categories as the main home. Outbuilding damage reinforces the storm damage argument for the entire property.
What to photograph: Full deck surface, all railing sections, post caps, any flat horizontal surface showing circular hail marks, and the full exterior of any outbuilding.
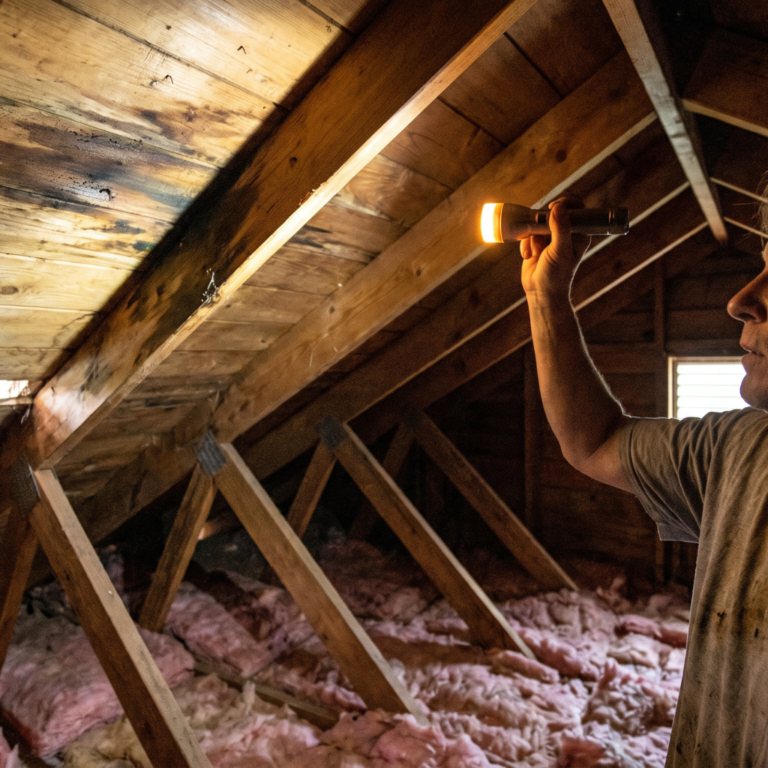
Zone 8: Interior Ceilings and Attic
Go through every room and look directly at the ceiling. Check every room, including closets and the garage interior.
Look for: new water stains, discoloration or yellowing that was not there before the storm, bubbling or separating drywall at the ceiling, and any ceiling sags.
Access the attic with a flashlight. Look for: daylight visible through the decking or around penetrations, wet or discolored insulation, water stains on rafters or the underside of the decking, and any mold beginning to form.
Check around every interior penetration point: skylights, attic vents, and chimney bases from inside.
What to photograph: Every ceiling stain in every room, the attic from multiple angles showing insulation and rafter condition, any visible daylight coming through the decking, and any area around interior penetrations showing water marks.
Full Zone Checklist Summary
Use this table as a quick reference during or after your walkthrough.
| Zone | What to Look For | Priority Level |
|---|---|---|
| Roof | Missing shingles, impact marks, lifted ridge cap | High |
| Gutters | Dents, granule buildup, sagging, fascia separation | High |
| Siding | Circular dents, cracks, directional impact pattern | High |
| Windows | Cracked glass, broken seals, dented frames | Medium |
| AC Condenser | Fin dents, proof of hail impact and size | Critical |
| Soffit and Fascia | Dents, open gaps, displaced panels | Medium |
| Deck and Outbuildings | Rail dents, board cracks, hail marks on flat surfaces | Medium |
| Ceilings and Attic | Water stains, daylight, wet insulation, mold | High |
How to Photograph Storm Damage for an Insurance Claim
Documentation quality determines how strong your claim is before the adjuster ever shows up. Follow this sequence.
- Start photographing within 24 hours of the storm, before rain washes away granule evidence and while debris positions are unchanged.
- Photograph the full exterior from all four corners of the property to establish the full scope of what the storm affected.
- Take close-up shots of every damage point with a reference object in frame: a coin, a ruler, or your hand shows scale clearly.
- Photograph the AC condenser unit from all four sides and include a scale reference in at least one close-up.
- Photograph granule buildup at every downspout cleanout before cleaning anything.
- Screenshot the NWS Springfield storm report showing hail size and storm path for your zip code on the storm date.
- Photograph damage to every secondary structure: shed, fence, mailbox, outdoor furniture. These reinforce the storm damage argument for the entire property.
- Do not delete any photos. Even damage that looks minor at the time may matter later in an adjuster conversation.
- Document any temporary repairs before making them. Photograph the damage, make the repair, then photograph the repair. Both photos belong in your claim file.
- Note the date and time on each photo. Most smartphones record this automatically in image metadata, but confirm before relying on it.
Pro tip: Photograph everything before making any temporary repairs. Insurance requires documentation of the original damage condition. Temporary repairs are allowed and often necessary to prevent further damage, but the original condition must be on record first.
When to Call a Professional vs. Handle It Yourself
| Task | DIY OK? | Call a Pro? |
|---|---|---|
| Ground-level walkthrough and photography | Yes | |
| Clearing yard debris and gutters | Yes | |
| Roof inspection above ground level | No, ground only | Yes for all close inspection |
| Temporary tarping of exposed decking | With caution | Best to use a pro |
| AC condenser visual inspection | Yes, look only | Yes if compressor concern |
| Attic inspection | Yes if safe access | Yes if structural damage found |
| Insurance adjuster appointment | Have roofer present | Yes |
Missouri homeowners have the right to have their contractor present during the insurance adjuster’s inspection. Use that right. A roofer who attends the adjuster visit speaks the same technical language and catches damage that might otherwise get passed over in a standard walkthrough. For full insurance claim assistance including adjuster attendance, ProNail Exteriors provides that as part of the inspection process.
Pro tip: Request your roofer be present at the adjuster inspection. Issues identified and documented on the spot are far easier to include in the approved scope than items disputed after the adjuster has already filed their report.
After the Inspection: What to Do Next
Work through these steps after completing the zone-by-zone walkthrough.
- Compile all photos into a single folder organized by zone. Label folders clearly: Roof, Gutters, Siding, AC, etc.
- Screenshot or download the NWS Springfield storm report for your storm date and zip code.
- Write a brief written summary of everything observed during the inspection. Zone by zone, in plain language, with timestamps.
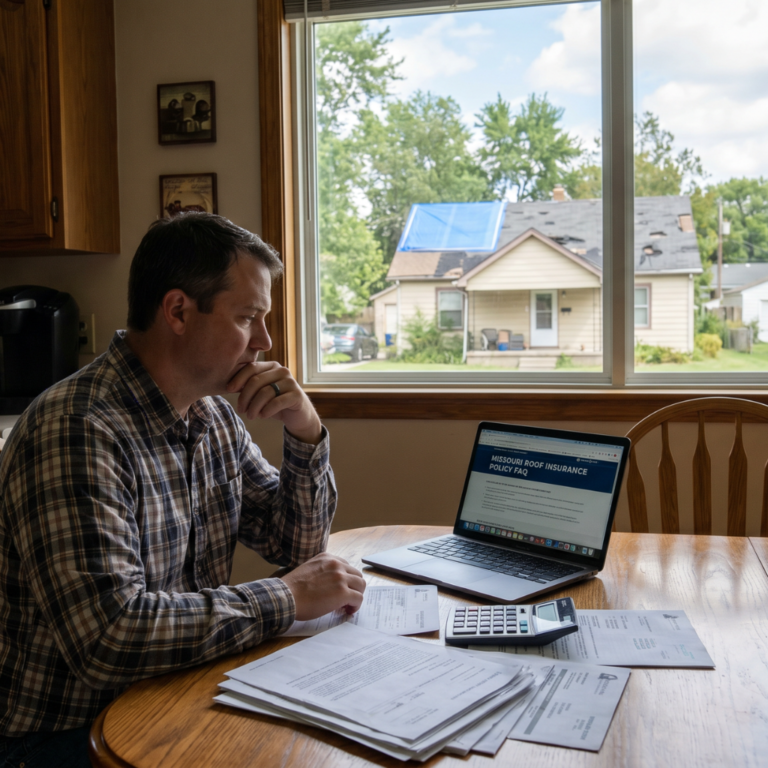
- Call a local insured roofer for a professional inspection and written report before calling your insurance company. Their documentation is more credible to adjusters than homeowner photos alone.
- Contact your insurance company to open the claim. Have the storm date, type of weather event, and a summary of visible damage ready when you call.
- Request that your roofer be present at the adjuster inspection and confirm the appointment time with them before the adjuster arrives.
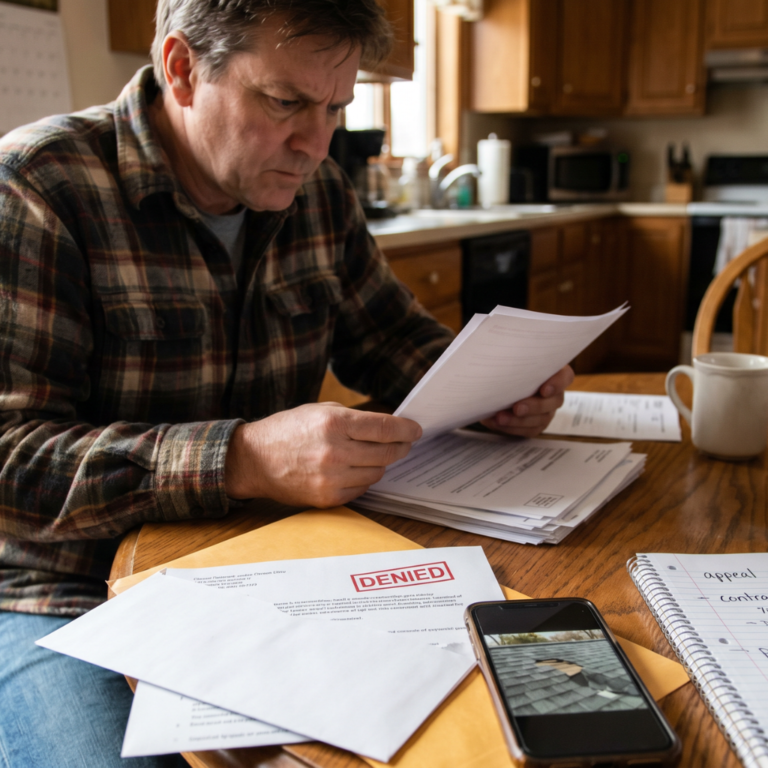
- Do not sign anything the same day as the inspection. Take at least 24 to 48 hours to review any offers or scope documents.
- Do not accept any offer from a contractor to waive or absorb your deductible. That practice is illegal in Missouri and is a warning sign about how that contractor operates overall.
Missouri SEMA disaster resources are also available to Southwest Missouri homeowners who need to navigate the state and federal disaster assistance process after major storm events.
FAQs About Post-Storm Inspections in Nixa and Southwest Missouri
For more answers on storm damage, roofing, and insurance, visit our frequently asked questions page.
Q: How soon should I inspect my home after a storm?
Within 24 to 48 hours of the storm. Most carriers require damage reporting within 60 days, but early documentation is always stronger than delayed documentation. Do not wait until you see a ceiling stain to start the process.
Q: Do I need to get on the roof to inspect it?
No. Inspect from the ground using binoculars or a phone camera with zoom. Hail-damaged shingles are structurally unstable and can give way underfoot. A professional roofer has the safety equipment and training to inspect the roof surface safely.
Q: What is the most important thing to photograph after a hailstorm?
The AC condenser unit fins on all four sides. Hail dents aluminum fins in a round pattern that confirms hail hit your specific property and gives a rough indication of hail size. Claim disputes are much harder to resolve without this physical evidence.
Q: Can I clean my gutters before the inspection?
Document granule buildup first. Take photos of granule accumulation at every downspout cleanout before cleaning. That evidence supports the claim that shingles suffered hail impact and the damage is from the storm rather than pre-existing wear.
Q: What if I find damage weeks after the storm?
Report it as soon as you find it. Note in your claim documentation that the damage was not immediately visible. Interior water damage often shows up days or weeks after the event that caused it. Early storm documentation and a weather report help establish the timeline and date of the original event.
Q: Should I make temporary repairs before calling insurance?
Document the damage in photos first, then make temporary repairs as needed to prevent further damage. Tarping exposed decking and boarding broken windows are examples of reasonable temporary repairs. Document the before and after condition of every temporary repair. Most policies cover reasonable temporary repair costs.
Q: How do I find the NWS Springfield storm report for my zip code?
Go to weather.gov/sgf and look for the storm reports or local storm data section. NWS Springfield publishes reports with hail size and storm path by county and city after significant events. Screenshot the report covering your address and save it with your claim documentation folder.
Q: What if my neighbor got a claim approved but mine was denied for the same storm?
Neighbor approvals from the same storm are useful supporting evidence. Document them and include the storm date and location. Submit this with a formal written appeal alongside a professional roofer’s inspection report showing storm-specific damage patterns.
Q: Does the Missouri Department of Insurance help with storm claim disputes?
Yes. Missouri homeowners can file a complaint at insurance.mo.gov if they believe a claim was wrongly denied or underpaid. The Missouri Department of Insurance investigates carrier practices and can compel the insurer to explain or reconsider their determination.
Q: Is it safe to run my AC after a hailstorm?
Not if the condenser fins are severely dented or bent across multiple sides. Compressed fins restrict airflow and can damage the compressor. Photograph the damage first, then call an HVAC technician before running the unit. Many storm policies cover AC condenser damage, so document it as part of your full claim.
Key Takeaways
Timing and documentation
- Act within 24 to 48 hours. Early documentation is always stronger than delayed documentation.
- Photograph everything before touching anything. Document before any temporary repairs.
- Screenshot the NWS Springfield storm report for your zip code before anything else.
The 8 inspection zones
- Roof, gutters, siding, windows, AC condenser, soffit and fascia, deck, and interior ceilings and attic.
- The AC condenser is the single best physical proof of hail at your property. Photograph all four sides.
- Granule buildup at the downspout cleanout confirms shingle damage. Photograph before cleaning.
After the walkthrough
- Get a professional roofer inspection and written report before calling insurance.
- Have your roofer present at the adjuster inspection. That is your right as a Missouri homeowner.
- Never sign anything on the day of inspection and never accept a deductible waiver offer.
Storm Just Hit Nixa or Springfield? Start Here.
ProNail Exteriors responds to storm damage across Nixa, Springfield, Ozark, and all of Southwest Missouri. Their team conducts thorough zone-by-zone inspections, produces written damage reports, and attends adjuster inspections to make sure nothing is missed or undervalued. If the inspection leads to a full roof replacement or targeted repairs, in-house crews handle the work from start to finish with no subcontractors.
Schedule your free storm damage inspection and get the documentation you need before opening the claim. The stronger your documentation going in, the stronger your position throughout the process.
ProNail Exteriors | Roofing, Siding, Windows, Gutters, Decks, and More | Serving Southwest Missouri Since 2025