TLDR: Roof leaks almost never starts where the stain shows up, because water travels along the wood before it drips. That is why a leak is a professional repair, not a do it yourself patch. The real entry point has to be traced and sealed into the surrounding roof, and roof work carries a real fall risk. This guide explains what causes leaks in Nixa homes, what a proper repair involves, and how to tell your roofer is doing it right.
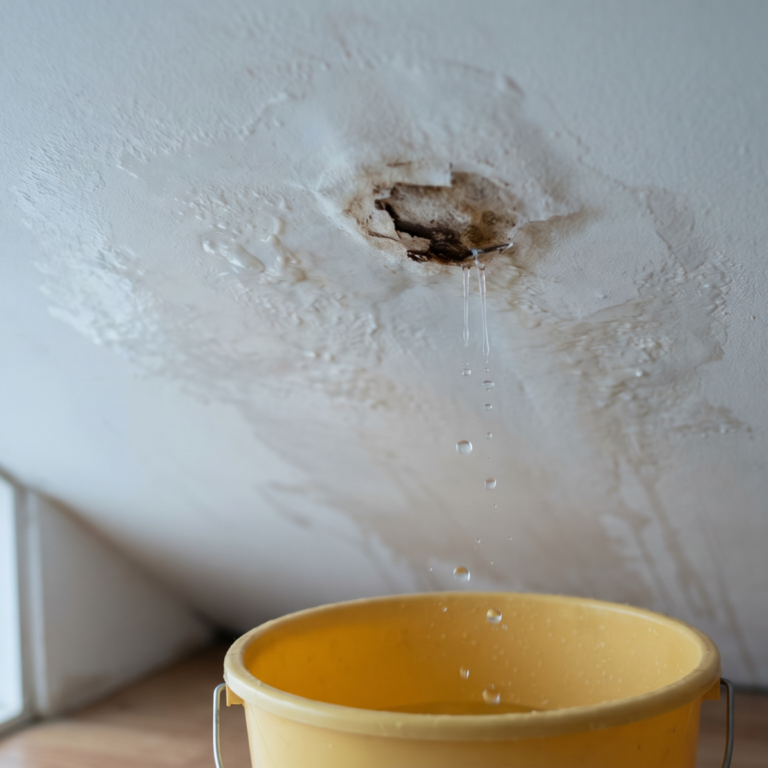
The stain showed up on your ceiling, and now you are staring at it wondering how bad it is. A leak is unsettling. Is it a small problem or a sign of something big?
Here is the honest answer for almost every homeowner: the right move is to grab the phone, not a ladder. A roof leak is a job for a qualified roofer, and this guide is not a fix it yourself manual. It is here to help you understand what is actually happening above your ceiling, what a good repair looks like, and how to judge whether the contractor you hire is doing the work correctly.
That knowledge is power. When you know what a proper leak repair involves, you can spot a roofer who is cutting corners, and you can feel confident the money you spend actually solves the problem. Our crews handle roof repair in Nixa every week, and the homeowners who get the best results are the ones who understand the basics first.
A roof leak should be repaired by a professional roofer. Finding and sealing the true source means tracing water back to a hidden entry point and tying the repair into the surrounding roof system, and standing on a roof carries a serious fall risk. The safe role for a homeowner is to protect the inside of the home, document the damage, and call a qualified roofer. Everything below is meant to help you understand and evaluate that work, not to perform it yourself.
Why a Roof Leak Gets Worse Fast in Nixa
Nixa sits in Christian County, where the silt loam soil holds spring moisture and the summer air stays humid. That combination means a wet attic does not dry out quickly.
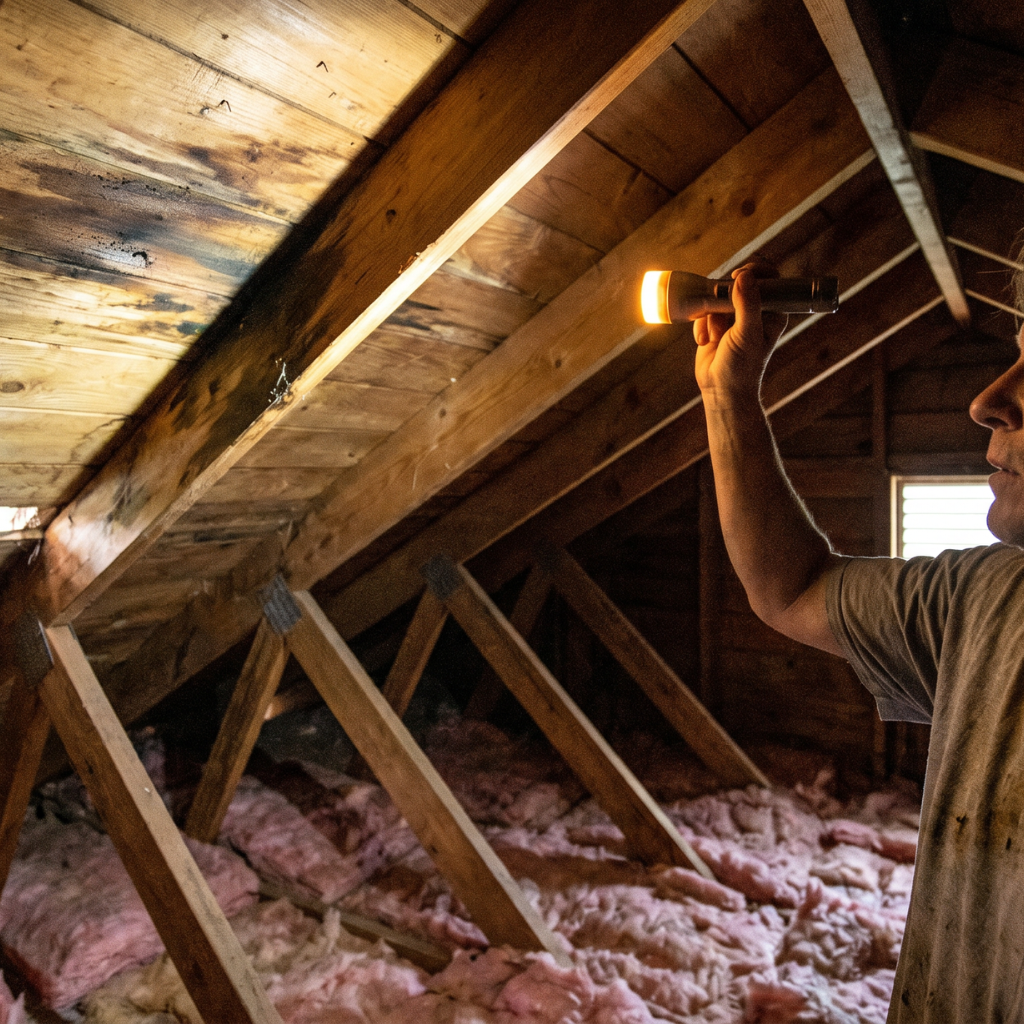
Mold can begin growing within 24 to 48 hours of water getting inside, according to the EPA on mold and moisture. Once mold starts, the problem grows. What began as a small leak can turn into decking replacement, framing treatment, and new insulation. A fast response keeps a repair from becoming a major project, which is the main reason not to wait and not to attempt a slow trial and error fix yourself.
Many Nixa homes add to the urgency. A wave of 1990s and early 2000s subdivisions are now hitting the 20 to 25 year mark, right when their original roofs are wearing out. On those homes, a leak is often the first sign the roof is near the end, not just a one spot problem.
Why the Leak Is Never Where the Stain Is
This is the single most important thing to understand about roof leaks, and it is why finding the source is harder than it looks. The wet spot on your ceiling is rarely right under the hole. Water runs along the roof decking and the framing before it finally drips, so it can enter the roof feet away from where you see the stain.
That is also why a homeowner poking around the attic often guesses wrong, and why a patch over the stained area frequently fails. A trained roofer traces the water back to the real entry point instead of treating the symptom. If a recent storm is the likely cause, this breakdown of what makes a roof leak after a storm covers the common entry points.
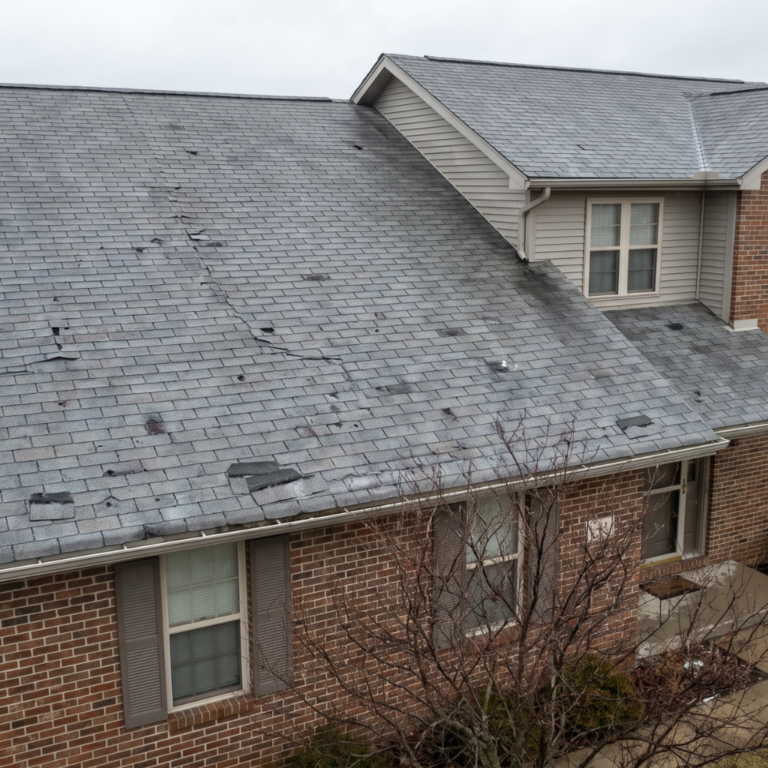
A hard truth worth knowing: a roof that looks perfect from the street can still leak. Hail bruises the shingle mat and breaks seals without leaving an obvious hole. Our article on why a roof can look fine and still leak explains how that happens.
What Actually Causes Roof Leaks in Nixa Homes
Most leaks in Nixa homes come from a short list of usual sources. Knowing them helps you understand what your roofer is looking for and why the repair is more involved than slapping on a patch.
| Leak Source | What It Looks Like Inside | Why It Happens in Nixa |
|---|---|---|
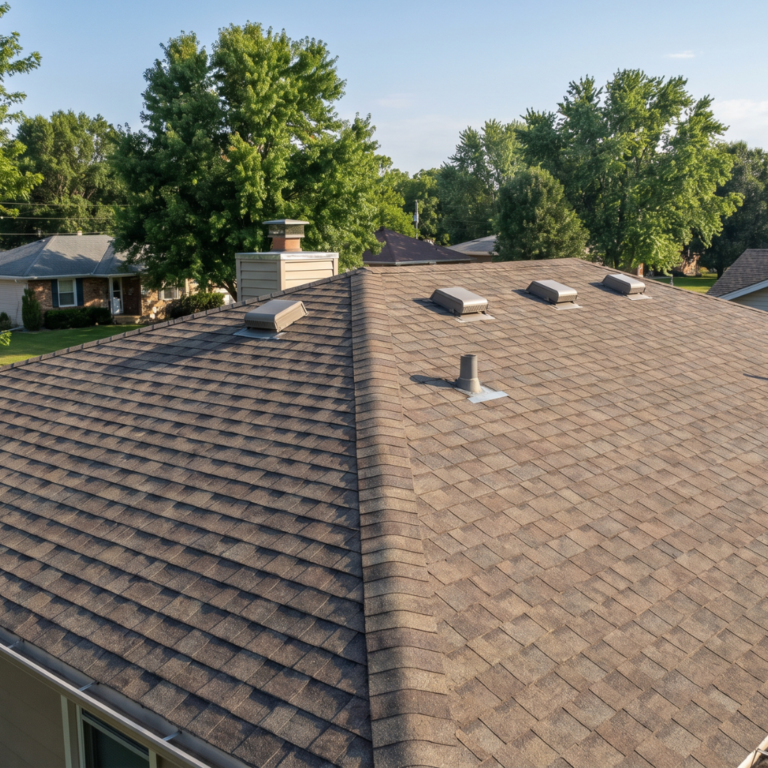
| Pipe boots | Stain near a bathroom or kitchen vent | The rubber gasket around the pipe cracks from hail or age |
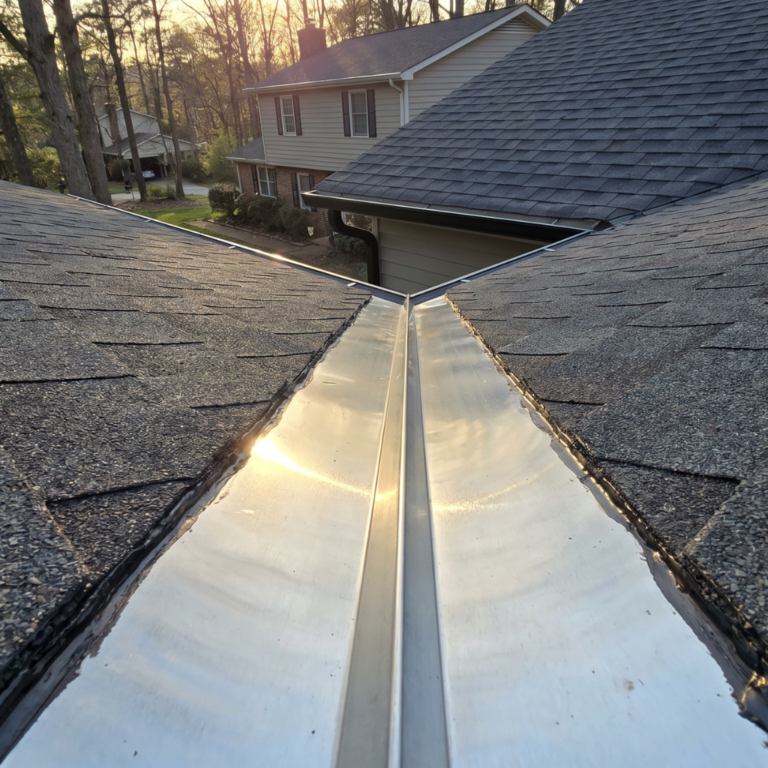
| Valley flashing | Stain near an interior corner | Water concentrates where two slopes meet, and hail bends the metal |
| Wind lifted shingles | Drips after the next storm | Hail breaks the seal without tearing the shingle |
| Ridge cap | A stain along the top of a room | A cracked cap at the peak is a common post hail miss |
| Chimney flashing | Stain near the fireplace | Bent metal at the chimney creates small gaps |
| Granule loss zones | Slow drip, hairline cracks | The exposed asphalt mat hardens and splits under sun |
Flashing, by the way, is the metal that seals the spots where the roof meets something else, like a wall, a chimney, or a vent pipe. When flashing bends or separates, water sneaks behind it. Hail and wind are hard on flashing here, which is why it is one of the most common leak sources our crews find.
What a Proper Leak Repair Involves
This is the part most homeowners never see, and it is exactly what you are paying a roofer to do correctly. A real leak repair is not a dab of sealant over a stain. It follows a sequence.
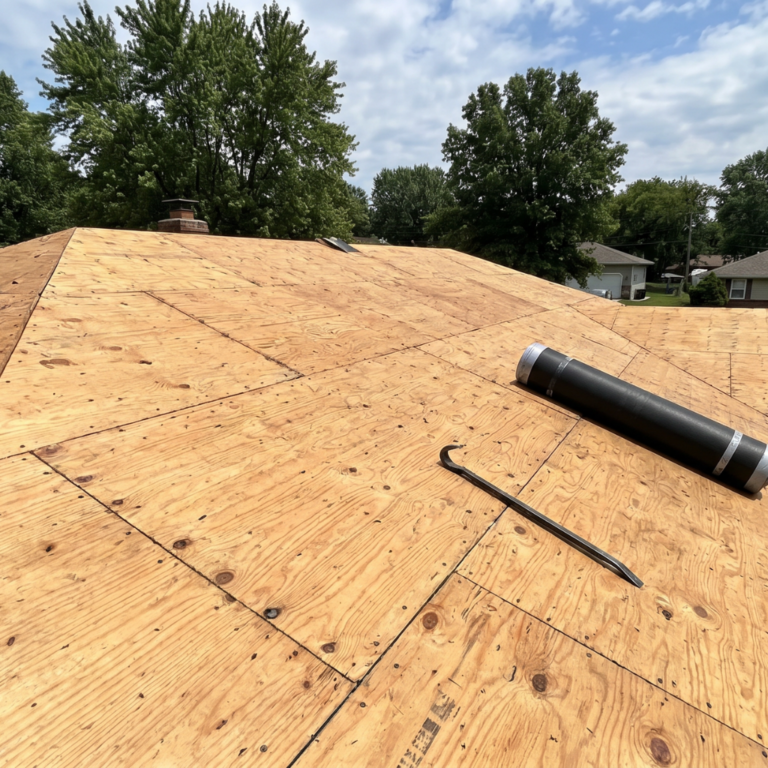
First, the roofer traces the leak to its true source, not just the area under the stain. Second, they check the decking, the wood layer under the shingles, for soft or rotted spots, because wet wood has to be replaced before new shingles go on. Third, they make the actual repair, which usually means resetting or replacing flashing, swapping a cracked pipe boot, or tying new shingles into the existing roof so water sheds correctly. Finally, on storm jobs, they document everything for your insurance claim.
The table below shows what a correct repair involves for the most common leak types. Notice that almost every one requires removing and resetting shingles, which is why these are not patch jobs.
| Leak Type | What a Proper Repair Involves | Why a Patch Fails |
|---|---|---|
| Cracked pipe boot | Remove shingles, replace the boot, reset shingles | Sealant over a cracked gasket fails within a season |
| Valley flashing | Lift shingles, replace bent metal, re tie the valley | A surface patch cannot redirect concentrated water |
| Wind lifted shingles | Reseal or replace, check the whole slope | One loose shingle often means the seal failed across the area |
| Cracked ridge cap | Replace the cap, inspect both slopes | The peak sheds water for the whole roof |
| Chimney flashing | Reset step flashing into the wall and shingles | Caulk alone separates and reopens the gap |
| Soft or rotted decking | Replace the wood before any shingle work | New shingles over wet wood trap the rot |
When you are not sure whether you are looking at a repair or a bigger job, our breakdown of deciding between repair and replacement lays out the trade offs for Nixa homes.
Illustrative scenario: A homeowner in a 1990s Nixa subdivision noticed a small stain near a bedroom ceiling and assumed it was a single bad shingle. A proper inspection traced the water uphill to a cracked pipe boot two feet away, and found the decking around it had already started to soften. The repair meant replacing the boot, swapping one sheet of decking, and resetting the shingles, work that a surface patch would have hidden instead of fixed.
After more than a decade on Southwest Missouri roofs, Eden has found the most common mistake homeowners make is assuming a leak is a one spot fix. By the time water reaches the ceiling, the decking underneath has often been wet for a while. That is why a real inspection beats a guess, and why a quick patch so often fails.
What You Can Safely Do Right Now
There is a clear line between what is safe for a homeowner and what is the roofer’s job. You should not get on the roof or attempt the repair. You can, and should, do three things while you wait for a professional.
Protect the inside first. Put buckets and plastic sheeting under the drip to save your floors and drywall. If water is anywhere near a light fixture or an outlet, shut off power to that area at the breaker.
Document the damage. Take clear photos of the stain, any water on the floor, and anything you can see from the ground, like missing shingles or dented gutters. If the leak is storm related, your insurer will want to see this.
Do not make permanent repairs before an adjuster sees the damage. A patched roof can make it harder to prove what a storm did. Temporary interior protection is fine and expected. If water is actively pouring in and waiting is not safe, emergency roof repair can stop the immediate damage first, without you climbing anything.
How to Tell Your Roofer Is Doing It Right
Because you now know what a proper repair involves, you can judge the work. A good roofer does these things, and a homeowner can watch for them.
They trace the source instead of patching the stain area. They get onto the roof and into the attic to find where water actually enters, rather than guessing from inside.
They check the decking. If a roofer never mentions the wood under your shingles, that is a warning sign, because wet decking left in place will rot.
They tie the repair into the surrounding roof. Flashing and shingles work as a system, so the fix has to blend in, not sit on top.
They document storm damage for your claim, and they explain what they found in plain language. A roofer who cannot show you photos of the problem is asking for blind trust.
When a Leak Is Really an Insurance Claim
This is the step that saves Nixa homeowners the most money, and the one people skip most often. If a storm caused your leak, you likely have a claim, even if the roof looks fine from the ground.
Hail rarely punches a clean hole. Instead it bruises the shingle mat, breaks the adhesive seals, and cracks the rubber on pipe boots. The damage is real, but it can be invisible from the driveway. That is also why a leak can show up six to twelve months after the storm that caused it.
You do not need an active leak to file. Insurers look for impact damage, and many adjusters evaluate it by counting hail marks within a test square across several roof slopes. A trained inspector knows the threshold an adjuster uses and how to document it, and our hail size chart for roof damage shows what each size does to a roof.
Here is the path that works:
- Walk our storm damage inspection checklist, then schedule a free professional inspection and get a written report.
- File your claim with the storm date and your photos.
- Have your contractor present at the adjuster visit so nothing gets missed.
- Learn how a roof insurance claim works before you file, so the process does not surprise you.
One correction worth making, since you will see it repeated online. There is no fixed sixty day deadline in Missouri law to file a storm claim. Your deadline is set by your policy, and it is commonly up to a year or more from the date of loss. Read your policy, and either way, file promptly. Waiting makes damage harder to tie to a specific storm.
A note on contractor conduct. Under Missouri’s roofing contractor law, a roofing contractor cannot waive your insurance deductible or negotiate your claim on your behalf, and the Missouri Department of Commerce and Insurance is the place to learn your rights as a policyholder. A roofer documents and communicates. The claim is between you and your insurer.
Practical Application: What to Do When You Spot a Leak
When you find a leak, work this list in order. Every step is safe for a homeowner, and none of it involves getting on the roof.
- Protect the inside. Put down buckets and plastic sheeting to catch the water.
- Cut power to any area where water is near a fixture or outlet.
- Photograph the stain, the interior damage, and anything visible from the ground.
- Do not patch anything permanently before an adjuster sees storm damage.
- Call a qualified roofer for an inspection and a written report.
- If the leak is storm related, start your insurance claim with the storm date and your photos.
- Keep every photo and receipt in one folder.
The single best move is to get a trained set of eyes on the roof. Booking a free roof inspection tells you whether you are looking at a quick repair or something bigger, without the risk of a ladder.
Frequently Asked Questions
Should I repair a roof leak myself? No. A roof leak should be handled by a professional roofer. The real entry point is usually not under the stain, the repair has to tie into the surrounding flashing and shingles, and standing on a roof carries a serious fall risk. The safe homeowner role is to protect the inside of your home, document the damage, and call a roofer. OSHA fall protection guidance requires a personal fall arrest system for roof work above six feet, which is one reason this is not a do it yourself job.
How does a roofer find where my roof is leaking? A roofer traces the water back to its true source rather than guessing from the stain. Because water travels along the wood before it drips, the entry point is often feet away from the wet spot on your ceiling. A proper inspection checks the usual sources first, like pipe boots, valleys, the chimney, and the ridge, and confirms the entry point before any repair begins.
What are the most common causes of roof leaks in Nixa? Cracked pipe boots, bent valley flashing, lifted shingles after wind, cracked ridge caps, and chimney flashing gaps. Many Nixa homes from the 1990s and early 2000s are also reaching the age where the whole roof starts to fail, so a leak can signal replacement rather than a single fix.
How do I know if my roof leak is covered by insurance? If a storm caused the damage, it is often covered, even without an obvious hole. Hail and wind break seals and crack gaskets in ways you cannot see from the ground. Get a written inspection report, file with the storm date, and have your contractor at the adjuster visit. A free inspection is the best first step.
What can I safely do until a roofer arrives? Protect the inside first. Put down buckets and plastic sheeting, and cut power to any wet fixtures. Photograph the damage for your records and any future claim. Avoid getting on the roof and avoid permanent repairs until an adjuster has seen storm damage. If water is pouring in, call for emergency repair right away.
Do I need a permit to repair my roof in Nixa? Your contractor handles any required permits as part of the job. Ask upfront so nothing delays your start date.
How much does it cost to fix a roof leak in Nixa? Cost depends on the source, the access, and whether the damage is storm related and covered. Rather than guess at a number, the honest move is a free inspection that tells you the real scope. Call (844) 321-6245 and you will get a straight answer on what your roof actually needs.
What happens if I ignore a small roof leak? It rarely stays small. In Nixa’s humid climate, mold can start within a day or two, and the wet area spreads to insulation, decking, and framing. A cheap fix today can become a major repair in a few months. Acting fast is almost always the lower cost path.
Key Takeaways
Why a Leak Is Deceptive
- The stain is downhill from the real entry point.
- Water travels along the wood before it drips.
- A roof can look perfect from the street and still leak.
Why It Is a Professional Job
- The repair has to trace the source and tie into the surrounding roof.
- Flashing, pipe boots, and ridge work all mean removing and resetting shingles.
- Roof work carries a serious fall risk, so leave the height to a pro.
What You Can Safely Do
- Protect the inside with buckets and sheeting, and cut power near wet fixtures.
- Photograph everything for your records and any claim.
- Call a qualified roofer instead of climbing up yourself.
The Insurance Step
- Storm damage is often covered, even with no visible hole.
- There is no fixed sixty day filing deadline in Missouri, but file promptly.
- A roofer documents and communicates, but cannot negotiate your claim.
Not Sure How Bad Your Leak Is?
A leak is stressful, but you do not have to figure it out alone or risk a ladder to do it. The fastest way to know whether you are looking at a quick repair or something bigger is to have someone who does this every day take a look.
Eden has spent more than a decade in Southwest Missouri attics, and the crews at ProNail Exteriors know exactly where leaks hide in Nixa homes. A free inspection gives you a clear, honest answer and a written report you can use if a claim is in your future. Call (844) 321-6245 for a no pressure look at what is really going on up there.
ProNail Exteriors | Roofing, Siding, Windows, Gutters, and More | Serving Southwest Missouri Since 2025